Fortunately, tidiness is not an overwhelming task. Quite the contrary: the more orderly a person is, the less time they need to maintain that order. This efficiency stems from well-organised spaces.
All that’s required to organise the kitchen is a good system. Then, you can enjoy the long-term benefits. Because once your kitchen is organised, you’ll never have to do it again (if done correctly). We’ll reveal how you can achieve this in eight simple steps.
- Step: Decluttering The first step in any organisational project is the same: you need to declutter. To truly organise your kitchen, you need to know what’s actually there. Empty all cabinets and drawers in the kitchen. You should be able to see at a glance what you have.
It’s also helpful if you group related items together as you go. All foodstuffs together, all pots together, etc. An added bonus: when the cabinets are empty, it’s a great opportunity to give them a clean.
Once all the kitchen items are spread out on the floor (or elsewhere), you’ll probably be shocked to discover just how much stuff you have. Now, organising smoothly transitions into decluttering.
Anything that’s duplicated, broken, or never used should be removed without mercy. This alone will make the next steps of organising easier because you’ll have less stuff that needs organising. For the remaining items, you’ll simultaneously create more storage space. Plus, decluttering increases the chance of having as much free worktop space as possible — and that’s always the goal in a kitchen.
- Step: Organising Kitchen Cabinets Once all the unnecessary items are sorted out, it’s time to start (re)arranging. Now, the focus is on sensibly planning out the kitchen cabinets. To do this, divide all the kitchen cabinets into zones:
- A zone for dishes, ideally located near the sink and dishwasher.
- A zone for cooking utensils like pots or pans.
- A zone for storage or food containers, preferably near the refrigerator.
- A zone for cleaning supplies and/or rubbish, often the cabinet under the sink.
- A zone for tea or coffee, ideally where the kettle or coffee machine is and where cups are stored.
- A zone for supplies, if you don’t have a separate pantry.
- A zone for special items, like fine china or kitchen appliances that aren’t used daily. These items are better stored outside the kitchen, perhaps in the dining room or garage.
For this system to work, the zones shouldn’t be mixed; otherwise, chaos will soon reign. In the dish cabinet, for example, only dishes should be stored, not food containers.
Therefore, make sure you select the zones so that the designated kitchen cabinets provide enough space for the relevant items. This way, the whole family learns where everything belongs. When everyone knows which cabinet is for kitchen appliances, you’ll never again be asked where the waffle iron is. And you’ll no longer be frustrated if someone else has emptied the dishwasher and put things in the wrong place.
- Step: Organising Drawers One area that is almost predestined for chaos is drawers. Imagine a cutlery drawer without any dividers. You likely envision a jumbled pile of utensils. It becomes quite a nuisance to search for a small fork in this heap. Therefore, no drawer should be without an organiser.
Drawers don’t just have to be for cutlery. Choose a drawer in the dish zone for cutlery (as close to the dishwasher as possible). The remaining drawers can be assigned as you see fit. Perhaps you have a drawer for cling film, baking paper, etc. The drawer near the stove, on the other hand, is for spices.
No matter how you decide, the key is that every drawer has an organiser. Generally, drawers tend to hold small items, which can end up scattered if there’s no divider. There are various drawer organisers available, such as dividers, classic sorting aids like those used for cutlery, or different-sized trays that can be combined. There are even tiered organisers for the spice drawer, so the labels on the containers are easily readable.
- Step: Organising the Pantry The next area that often creates chaos is the pantry. If it’s poorly organised, supplies can be found in different cabinets throughout the kitchen, on the countertop, and on the kitchen table. In the worst-case scenario, you don’t even know where to put everything after shopping. Even a pantry can suddenly seem very small if it’s disorganised. Conversely, you can make a small space appear much larger and fit more stuff if you organise it properly.
Pantry organisation can seem like a huge task, but it’s worth the effort. You’ll be pleasantly surprised how much space you actually have when you don’t have to deal with a chaotic pile of food.
For this area, clear plastic boxes and jars are very helpful. These allow you to see the contents at a glance, meaning you’ll no longer have to spend time searching for what you need. It’s also beneficial to label the containers. You can write directly on them using a waterproof marker or use sticker labels. sensor kitchen bin
It’s advisable to place items used daily at eye level. Less frequently used items, like baking ingredients, can be stored on higher shelves. Heavy items, such as drinks, belong on the lower shelves.
- Step: Organising the Spice Rack If you love cooking, you probably have an impressive collection of spices. Unfortunately, without the right storage solution, these can easily create chaos.
For a tidier kitchen, it’s crucial to find a system for the spices. As mentioned before, you can use tiered drawer organisers or a spice rack. These solutions allow you to see all the spices at a glance.
The primary consideration for organising spices is that they’re within easy reach when cooking. So, they should be stored near the stove. It’s also important that the labels are visible. If you have to search for a long time, the joy of cooking is quickly lost.
- Step: Organising Oils and Bottles Bottles of oil, vinegar, and sauces usually clutter up the countertop. However, they don’t have to take up valuable work space. They can be neatly stored in a cabinet near the stove or sink. If you have deep cabinets, pull-out organisers are an excellent solution. They provide a clear overview and easy access to the bottles. Another option is a lazy Susan, which can be especially useful in corner cabinets.
- Step: Organising the Corner Cabinet The corner cabinet is often the most challenging part of kitchen organisation. Due to its shape, it’s difficult to get a good overview of the contents. However, there are practical solutions for this problem.
If you have a classic corner cabinet, a lazy Susan is a perfect choice. It allows you to turn the shelves and easily reach everything. For a modern kitchen with a magic corner, the solution is already built-in. With these systems, the contents of the cabinet can be pulled out, providing an excellent overview and easy access.
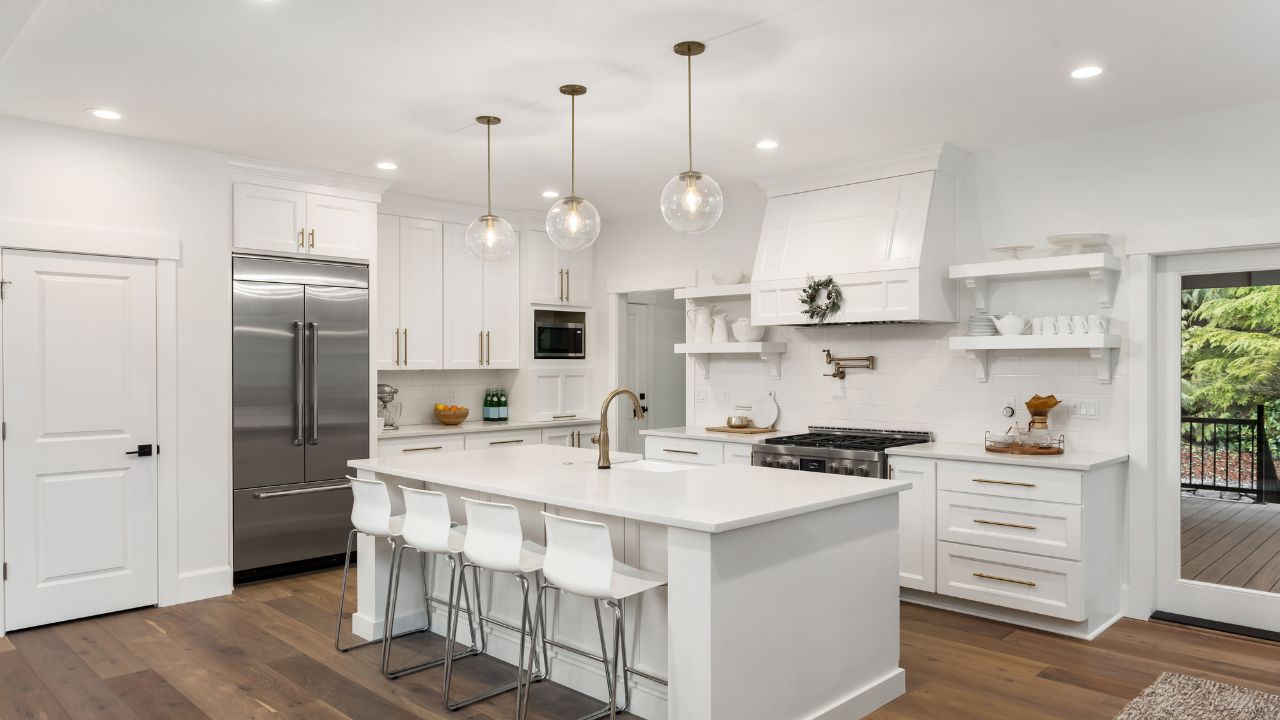
- Step: Organising Open Spaces The final step is organising open spaces, like the countertop or open shelves. These areas are often cluttered because it’s so easy to just set something down there. However, they should be as empty as possible. Not only does this look better, but it also provides more workspace.
Therefore, everything that doesn’t absolutely have to be within reach should find a home in a cabinet or drawer. For items that need to stay on the countertop, use beautiful baskets or other containers to group them. This immediately creates a tidier impression.
With these eight steps, your kitchen will not only be neat, but it will also stay that way. All it takes is a good system. Once everything has a designated place, tidiness is easy to maintain. You just have to put things back where they belong. And when everyone in the household knows the system, they can all help keep the kitchen tidy.

